Although most of the spring articles I write concern when and where fish will show up first around the Cape and islands, as well as what lures and baits will provide the best opportunity to catch them, this piece is going to take a more general advice approach to improving your fishing experiences.
Some of these suggestions may seem common sense, but in my early years of angling I realized that forgetting to do something as simple as inspecting my wire line connections or adding enough wraps to a knot could result in a less than successful outing. That might have been OK when I was fishing by myself, but there’s no excuses if negligence affects the quality of my clients’ fishing experience.
So, without further ado, here are a few things I suggest checking off your list before your first spring trip.
Replace Mono
Before you go out for your first trip of the season, it really is time to replace any monofilament line that you have used the previous season. Mono is relatively cheap and letting it sit on your spool, where salt is most likely trapped in, or to some degree still coating the line, will weaken it. In addition, the constant twisting that spinning tackle puts in line due to its design also weakens mono, as does the friction that casting creates as the line passes through the guides and over the bail roller.
Replace or Re-Wrap Braid

Braid might be more expensive and therefore you might be less inclined to replace it, but you can always have the shop remove it and reverse it on the spool, thereby putting the section that has seen less wear on top. That will also allow the shop to make sure that the knot between any mono backing you have and the braid is still in good shape.
Inspect Wire Line Connections
Wire line presents the biggest issue since the different compounds of metal that make up the wire are typically different than what the spool of the reel is made up of. I was never a very good chemistry student, but I do know that introducing dissimilar metals to a salt bath creates all kinds of reactions that deteriorate the line and spool. Again, wire line is not cheap, but when you think of all of the salt that remains in the backing, then the potential is always there for corrosion and thus the weakening of the line.
The knot between backing and wire always needs inspection and retying when it looks questionable. Many wire line anglers prefer to use shorter “shots” of wire connected with sections of Dacron or other backing type material, whereby they can let out the correct length of wire for the depth of the water and still have the Dacron rest against the tip when jigging. It’s pretty much a no-no to have the wire coming out of the tip when jigging because it creates a severe angle that can lead to premature failure. Unfortunately that’s what some folks are faced with when they have a single length of wire that is too long for the depth they are fishing.
Of course, the best way to avoid any problems with old line when starting a new season is to remove it completely at the end of the previous year, even to the point of having the backing on wire line reels removed and stored on a filler spool, which can then be put back on a line winding machine in the spring.
Tie and Check Your Knots
There are an incredible number of knots available to the light tackle angler and don’t get me started when it comes to fly anglers and their leader systems. But no matter what you are connecting, the best advice I can give is to learn a few knots really well by practicing them. Over the years, I have spent a fair amount of time in the winter practicing tying new knots while watching TV and I know that I should be able to tie them even under the pressure of getting another lure, fly, or leader tied on when a blitz is happening – although I still find I have a few too many thumbs at times!
There should be no guessing when it comes to whether a knot is tied correctly; you can give it the old eye test, making sure that any barrels or wraps that are part of constructing them are tight to each other and don’t crisscross. Learn to use the correct number of wraps recommended for creating each knot, which can vary according to the weight or pound test of the line.

Lubricating a knot may seem excessive, but eliminating any friction when drawing a knot up will help preserve the strength of the lines being used. I still use old fashioned saliva, but I know some folks put some Chapstick on their lips and run the knot through them to provide some slickness. The one thing I would avoid is any oily substance since they will cause slippage, which is the enemy of any knot as it lead to breakage.
Ultimately, if I had one piece of advice when it comes to knots, it’s petty simple: if it doesn’t look right, don’t trust it. It takes very little time to retie and at the beginning and end of each trip, and checking all of your knots will ensure that you aren’t kicking yourself when you lose that good fish to a poorly tied or weakened knot that you knew you should have redone.
Evaluate Your ‘Quiver’ of Rods
Make sure you have enough rod and reel combinations on board to deal with the type of fishing you are going to do. For example, if you are going to jig wire, carrying just two outfits is not a good idea. All it takes is one backlash or breakoff and you are really in trouble. The same is true with casting or bottom fishing outfits; having at least one back up at a minimum makes a great deal of sense.
Inspect Reel Line Rollers and Tips
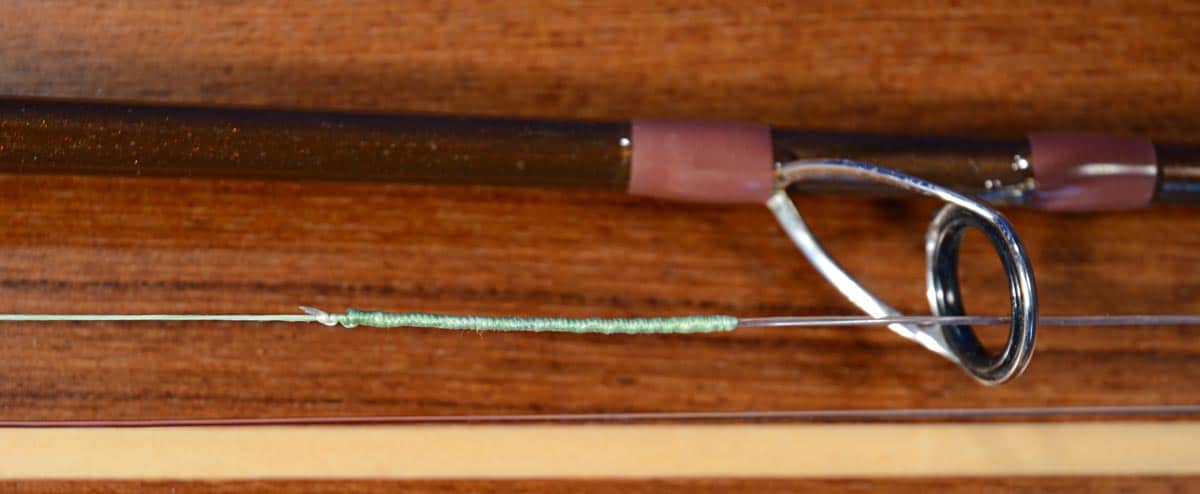
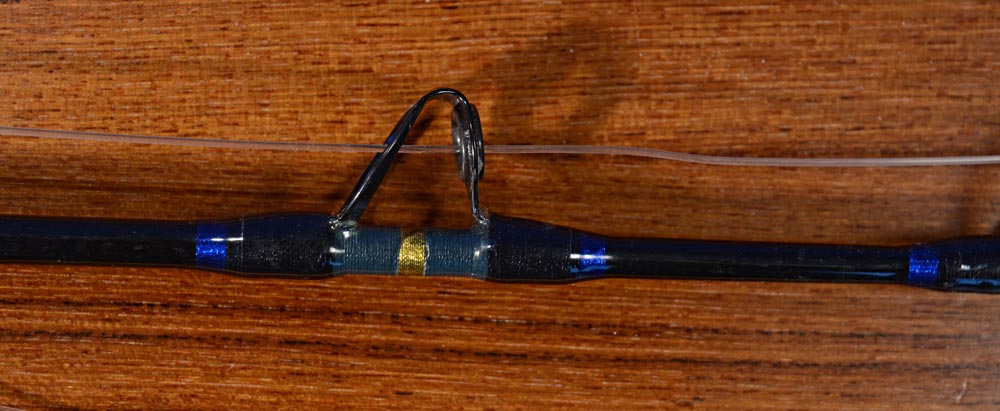
Making sure there are no burrs, cracks, chips, or grooves in your reels’ line rollers and rods’ tips and guides is something you should never neglect in the spring and during the season. If you find that your line is constantly parting while casting or fighting a fish, the common thought is that something is wrong with the line when in fact it might be a mechanical failure. In the old days, it was suggested that you run a lady’s nylon stocking a tip or any other guide to see if it snags. I suppose the same practice would work the new ceramic and other manmade inserts on today’s guides, but you can also visually inspect them for cracks and chips.

The rollers on reels should rotate freely and bearing or bearings contained in most fail more often than you think due to the fact that they receive so much use. In fact, I now replace all of the bearings in the rollers on my reels with higher quality, more expensive ceramic models.
Other basic maintenance of rods and reels is always a good idea and I won’t take the time to get into what is involved in that, as there are plenty of videos on You Tube and Vimeo what will guide you through the steps, or you can simply avail yourself of the reel and rod people at your local tackle shop.
Inspect Your Lures & Hardware
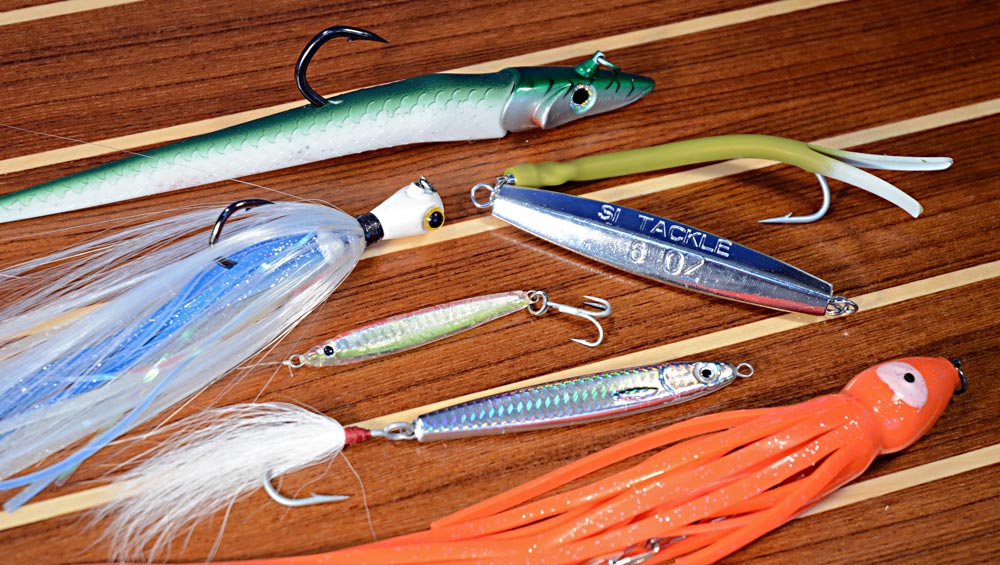
Along with rods and reels, having enough lures is critical to your success, but I am not talking about buying every model out there. Developing confidence in a few styles and colors is the way to go, and if you are down to below two of your favorites, buy at least one more. Think about it: if chartreuse is the hot color parachute and you lose one to a snag and have no more on board, then one rod is basically out of commission.

When it comes to casting lures, particularly those that are mass produced in plastic, always check the hardware and replace if it questionable. In the past couple of years, lures such as Magic Swimmers, Stick Shadds, and Daiwa SP Minnows all have become popular, but it became pretty clear that the hooks and split rings on them were not up to heavy saltwater use. Some manufacturers have learned to up their games and now use better hardware, but if in doubt, swap it out.
The same goes for rusty or oxidized hardware; it doesn’t take much for a good fish to break any weakened hooks, split rings, or even the snaps and swivels that are used on leaders.
Buy the Eldridge Tidebook
I am always a bit surprised by folks who venture forth for a trip, whether from shore or boat, without knowing what the tides and currents are where they will be fishing. Although a bit more complicated than looking at a tide and current chart, a basic understanding of how tides and currents work will really prove to be worth the time it takes to learn how these cycles function.
Although I would highly suggest picking up any and all tide charts that tackle shops in the area provide, typically as a free service, the first item you should grab even before the season begins is the Bible of tides, currents, and pretty much everything nautical: The Eldridge Tide and Pilot Book. A copy of this orange/yellow book resides both in my truck and in my home, and next to the captain’s class I took through New England Maritime, it has proven its cost time and again.
I could take hours to explain and highlight the information that it contains, but I would start with how you will learn the difference between tides and currents and how they affect the fishing in a given area, as well as how you can map out a day’s fishing based on what is going on presently in an area as well as what is going to happen elsewhere that may make picking up and moving worthwhile rather than repeatedly covering water that has become less productive.

